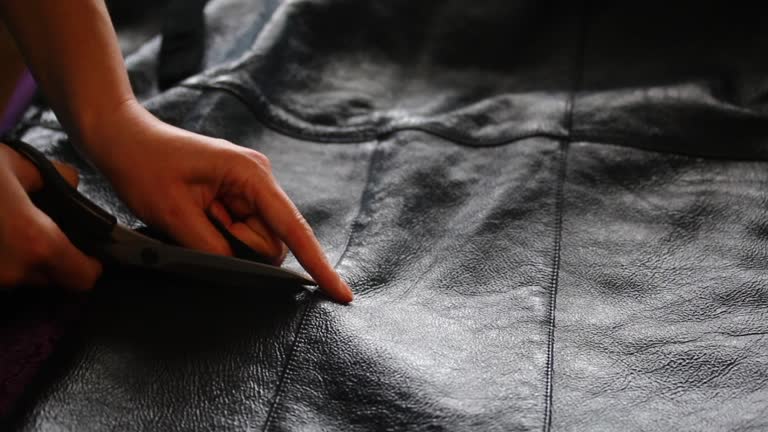
Leather vests are timeless pieces that add flair, attitude, and individuality to any outfit. Whether it’s a leather vest womens style that pairs perfectly with denim or a rugged mens leather vest that exudes confidence, these garments often become more than just clothing—they become statements.
Patches are a popular way to personalize leather vests, especially in biker communities, music circles, and fashion-forward scenes. But what happens when those patches no longer reflect your current style, affiliations, or mood? Removing patches from a leather vest requires care, precision, and the right technique to avoid damaging the material.
In this guide, we’ll break down everything you need to know about how to safely and effectively remove patches from your leather vest—whether it’s sewn, glued, or ironed on—without leaving behind scars or regrets.
Why People Remove Patches from Leather Vests
Before diving into the how-to, let’s explore a few common reasons people decide to remove patches:
- Style evolution: Your fashion sense has changed and that skull patch from 2013 doesn’t match your current vibe.
- Group affiliation: Maybe you’re no longer part of a club or event the patch represented.
- Reusing the vest: You scored a cool mens leather vest at a thrift store, but it came with someone else’s patchwork.
- Repair or replacement: You want to remove damaged patches or swap them with new ones.
Understanding the Type of Patch Attachment
Not all patches are created equal. The method of attachment determines how you should remove it. Here’s a breakdown:
1. Sewn-On Patches
This is the most common method. Thread is used to stitch the patch to the vest. These are the easiest to remove with minimal risk to the leather.
2. Iron-On Patches
These patches have adhesive backs that are activated with heat. Removing them requires careful application of heat again.
3. Glued-On Patches
This method uses strong fabric adhesives. These are the most difficult to remove cleanly, especially without damaging the leather.
Tools You’ll Need
Gather the right tools before you begin. Here’s what you’ll need depending on the patch type:
- Seam ripper or small scissors (for sewn-on patches)
- Hairdryer or iron (for iron-on patches)
- Cotton cloth or parchment paper
- Leather-safe adhesive remover (for glued-on patches)
- Tweezers
- Soft cloth or microfiber towel
- Leather conditioner
Step-by-Step Guide to Removing Patches from a Leather Vest
Let’s go through each type of patch and how to remove it properly.
Removing Sewn-On Patches
- Flip the Vest Inside Out: If possible, turn your vest inside out to access the stitching on the reverse side.
- Use a Seam Ripper: Gently insert the seam ripper under the thread and cut the stitches one by one. Don’t rush—take your time.
- Pull the Patch Away: Once all stitches are removed, carefully peel off the patch. Use tweezers for stubborn thread bits.
- Inspect for Holes: Look for needle holes or loose threads. These can often be minimized with a bit of leather conditioner.
- Clean and Condition: Wipe the area with a damp cloth and apply a leather conditioner to restore the surface.
Removing Iron-On Patches
- Apply Heat Gently: Set a hairdryer on medium heat and apply it to the patch for 30–60 seconds. Or use an iron covered with parchment paper.
- Test a Corner: Try lifting one edge. If it comes off easily, continue pulling gently. If it resists, apply more heat.
- Peel Slowly: Pull the patch off slowly while applying more heat if necessary. Don’t force it.
- Remove Residue: Use a leather-safe adhesive remover or rubbing alcohol on a soft cloth to clean any leftover glue.
- Condition the Area: Finish with leather conditioner to restore moisture and prevent cracking.
Removing Glued-On Patches
- Soften the Adhesive: Use a hairdryer to warm up the area for a minute or two.
- Gently Peel Edges: Using a flat edge like a credit card, lift the edges of the patch slowly.
- Apply Adhesive Remover: Dab a small amount on a cloth and work it into the sticky area. Be careful not to over-saturate.
- Wipe Clean: Once the patch is off, clean the area with a soft cloth and reapply leather conditioner.
Common Mistakes to Avoid
Here are a few things not to do when removing patches from your leather vest:
- Don’t rip or tug: You’ll stretch or tear the leather.
- Avoid high heat: Too much heat can dry out or discolor the leather.
- Skip testing products: Always spot-test cleaners and removers.
- Neglect aftercare: Leather needs conditioning after stress or chemical exposure.
Caring for Your Leather Vest After Patch Removal
Once you’ve removed the patch, don’t forget to take care of your vest. Leather is skin—it needs hydration and protection.
- Use a leather conditioner to replenish moisture.
- Let it dry naturally (no direct sunlight or heat sources).
- Store it properly on a hanger in a cool, dry place.
Whether it’s a leather vest womens style with elegant details or a mens leather vest with a rugged cut, proper care ensures it lasts for years.
Can You Reuse the Patch?
Sometimes! If it’s not too damaged and you removed it cleanly, you can sew it onto another vest or bag. Glued and iron-on patches may be more difficult to reuse, especially if the adhesive has worn out or cracked.
Conclusion:
Removing patches from a leather vest is part of making your wardrobe reflect you. Whether you’re refreshing your style, joining a new group, or just going for a clean, minimal look—now you’ve got the knowledge and tools to do it without damaging your vest.
Looking to upgrade your wardrobe or find a new vest that speaks to your current style? FMCo NY offers a wide range of premium leather apparel designed with both form and function in mind. Whether you’re shopping for a bold mens leather vest or a sophisticated leather vest womens design, they have you covered.
Read more: postingblog

